Upgrading a 200Tdi Defender to Td5 dashboard warning lights
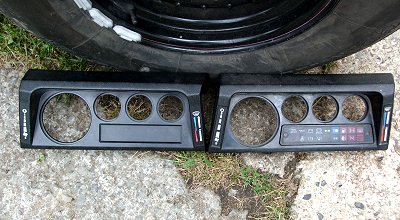
In my quest to make improvements to improve my 200Tdi Defender, I've replaced the 80's looking warning light panel on the dashboard with one from a Td5 model (1999 onwards). The later dashboard is more clearly illuminated, doesn't have a bouncy speedo needle and personally I just think it looks nicer. For the sake of a few quid and a more or less straight swap it has been a great improvement.
What you'll need
- Dashboard fascia 1999 onwards (YAF100080)
- Extra wiring, colour coded if you prefer (eBay link)
- 16 and 20 pin warning light connectors (eBay link)
LR Expedition may receive compensation for purchases made using the eBay links.
Tools
- Soldering iron
- Cable strippers
- Pliers
The wiring colours used between the different Land Rover models are mostly the same, but I have listed where the 200Tdi colours are different. Certain features may not be installed on your vehicle, and if for example you don't have ABS, then the wires need to be re-routed to the connector/pin listed e.g. 16/10 = 16 pin connector on pin 10. White & Green means a wire with a fat White strip and a thin Green strip(s).
16 pin connector
| Pin | Td5 wiring | 200Tdi wiring | Warning light | Polarity |
|---|---|---|---|---|
| 1 | White & Green | - | Ignition feed | Live + |
| 2 | Yellow & Black | - | Choke | Earth - |
| 4 | Orange & Green | - | Water in fuel filter | Earth - |
| 5 | Grey & Red | Has 2 wires | Gearbox oil temp | Earth - |
| 6 | Red & Grey | - | Non ABS bypass | 16/10 |
| 7 | Red & Grey | - | ABS only | Earth - |
| 8 | Black | - | Earth | Earth - |
| 9 | Black & White | - | Non ABS bypass | 16/13 |
| 10 | Red & Grey | - | Non ABS bypass | 16/6 |
| 13 | Black & White | - | Non ABS bypass | 16/9 |
| 14 | Black & White | White & Yellow (H/brake) | Handbrake/brake fluid | Earth - |
| 16 | Yellow & Grey | - | Traction control | Earth - |
On the connector below, don't confuse the Black & White from the rear heated screen for the one for the brake fluid level.
20 pin connector
| Pin | Td5 wiring | 200Tdi wiring | Warning light | Polarity |
|---|---|---|---|---|
| 1 | Blue & White | - | Main beam | Live + |
| 2 | Green & White | - | RH indicator | Live + |
| 3 | White & Orange | White & Grey | Low fuel | Earth - |
| 4 | Red & Yellow | - | Fog light | Live + |
| 5 | Orange | - | Engine immobilised | Earth - |
| 6 | Black & Pink | - | 120kph | Overspeed ECU Pin 3 |
| 7 | Black & Blue | - | Diff lock | Earth - |
| 8 | White & Blakc | - | Heated rear screen | Live + |
| 9 | Black & Red | - | Hazard lights | Live + |
| 10 | Light Green & Pink | Light Green & Purple | Trailer indicators | Live + |
| 11 | Red & Grey | - | Engine management | Earth - |
| 12 | Black & Yellow | Yellow & Black | Glow plugs | Earth - |
| 13 | White & Brown | - | Oil pressure | Earth - |
| 16 | White & Green | White | Ignition feed | Live + |
| 17 | Yellow & Brown | 2 x Brown & Yellow | Battery charge | Earth - |
| 18 | Green & Red | - | LH indicator | Live + |
| 20 | Red & Orange | 2 x Red | Sidelights | Live + |
Creating the connectors
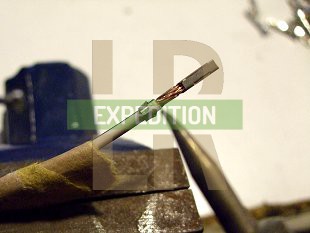
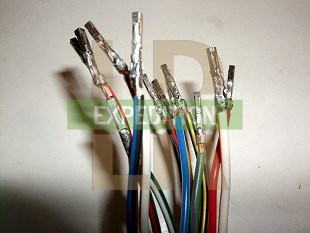
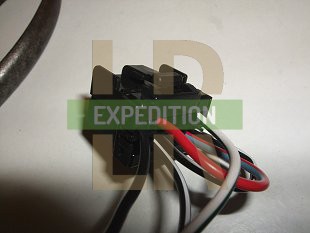
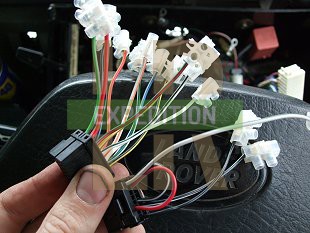
I purchased a quite a big bundle of wiring to be able to keep the wire colours standard for future reference. To the wire ends I crimped the connector, then held it in a vice while I sealed it with solder to eliminate any dodgy connections. Pin 1 is on the top left of the pin looking with the wires going away from you.
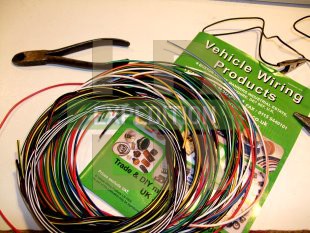
Not having ABS I cut a small length to bend round into the appropriate pins. Before pushing them into the connectors I double checked all the positions and snapped shut the connectors.
Testing the connections
With the connectors in place I connected the protruding wires to an old train set transformer which outputs 12.5v. Some lights illuminate when sent a live feed and the others when sent an earth feed. As such you need to have the appropriate ignition feed (16/1 and 20/16) or earth - (16/8) wires connected when testing.
Disassembling the dashboard
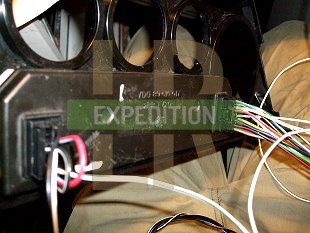
I pulled the old dashboard and wires from the gauges from the Defender to find an explosion of wires. The existing 200Tdi warning connectors had a nice amount of wire attached to them to play with.
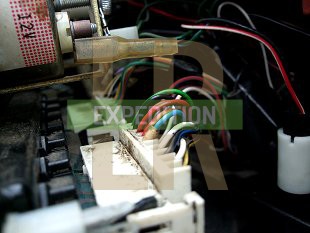
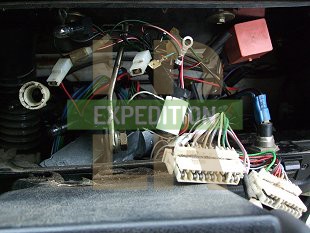
I snipped the existing connectors with a good excess of wire should I want to be able to re-connect them if things all went wrong... Note the two Yellow & Brown and two Red wires each connecting to a single pin.
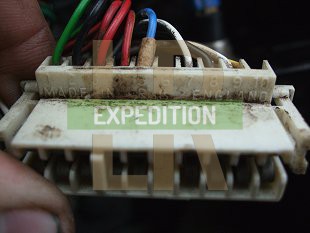
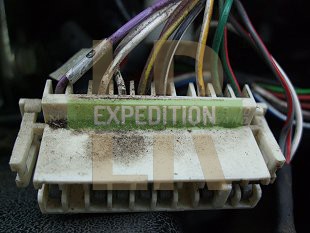
To console yourself that all the colours go to the right place, you can look at the back of the old dashboard and see which connections go to which bulbs. I then cut the connector wires down to size and attached plastic connectors. They take up a bit of room but for 29p for 12 from Wilkinsons, it was a steal. These connections can be semi-permanent as the warning connectors themselves provide the future detachment from the dashboard.
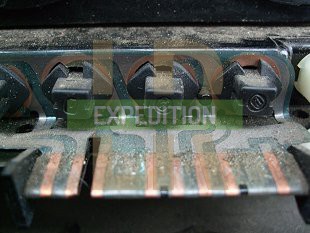
Connecting the warning connectors
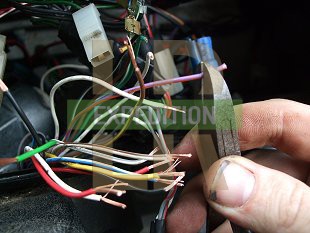
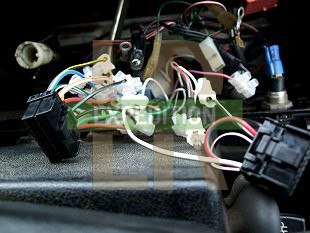
The really fiddly bit came with trying to remove the plastic insulation from the dashboard loom wires. It was difficult to maneuvre the wires, the steering wheel was in the way and a pair of cable strippers would be much better than my metal pliers. Make sure as you connect the wires that the connectors have their 'T pieces' facing inwards so you don't have to twist the wires to connect them to the dash. Eventually, everything was connected.
Unexpected wires
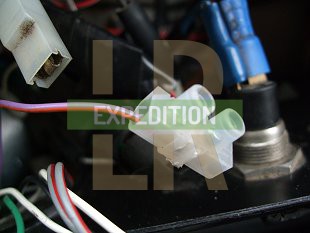
Once every wire on the connectors was attached I found myself left with a solitary Purple & Orange wire and two Grey & Red wires going to a separate bulb. I worked out that the Cog & temperature gauge on the warning panel that the bulb was for, indicated the gearbox temperature. It turned out to be a bonus as I never knew there was one on a 200Tdi, so I made up another connector and added it to the warning connector. The single Purple & Orange wire I still don't know what it's for. It was attached to the far bottom left bulb on the panel - some sort of circular icon...?
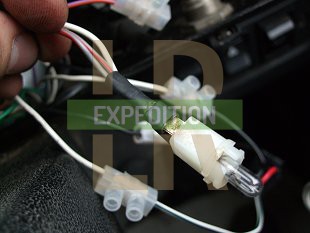
A new dashboard is born
Once I was satisfied again that the wires went to the right colours and no shorts were (hopefully) going to happen, I re-attached the dashboard with the gauges and rerouted a few wires to take up the extra mass. Reconnected the battery and turned the ignition..... Success! Up come the lights.
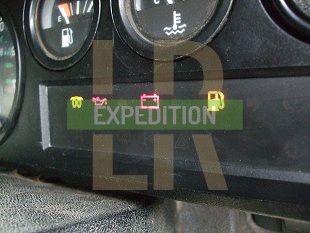
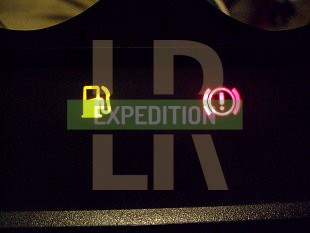
The only problem is that the sidelights light doesn't come on, which did work on the old dashboard. I checked the two Red wires and they have no current going to them, which probably means something must have disconnected when changing the dashboards. Also, the fuel gauge light stays on regardless of the fuel tank level. It's probably a bad earth (dims when pressing the brake pedal), which i've yet to find.
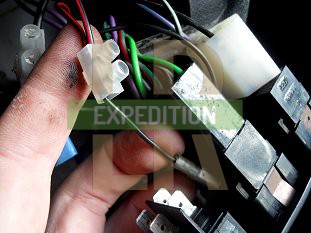
I found it all to be a straightfoward job, which took me about 4 hours in total. Stripping and soldering each wire is a time consuming business, but once that's done fitting all the bits together couldn't be easier with the wiring reference provided above. Now I need to sort that fuel light as it's a lot brighter than it used to be... In the near future, I will also be upgrading the gauges to Td5 versions as well. Watch this space.
Update: I wired removed the sidelights wire and wired it to the gauge illumination, as turning on the sidelights will also light up the gauges. I also split the wire from the hazard switch (Black & Red) and took a feed to the hazard warning light Pin 9 on the 20-pin connector.
See the video below of the dashboard warning lights in action! Can you tell i'm proud?!?
Update
Since I bought my 300Tdi Station Wagon, I reverted this modification and moved it to that one. In doing so I soldered the connectors directly into the loom.
